Easily Record Audio with Free Audacity Software
- Jun 14, 2026 01:11 pm
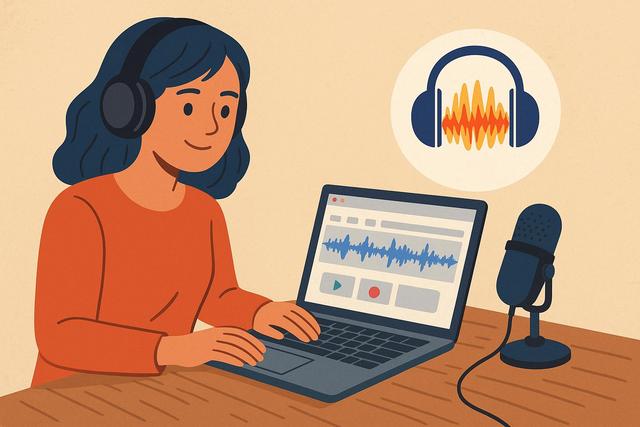
Do you want to record sound with Audacity for free and without complications? This free software allows you to capture your voice, an instrument, or the sound from your computer in just a few clicks. In this article, you will learn how to install Audacity, configure your microphone, and record high-quality audio, even if you are a beginner.
For more details on downloading Audacity, visit the download page.
Why use Audacity to record sound?
Audacity is a free and open-source software that you can install on Windows, macOS, and Linux. It is suitable for both beginners and more advanced users.
It offers several advantages:
- It is completely free.
- It works offline.
- It allows you to record, edit, and export your audio files.
- It supports numerous formats like MP3, WAV, or OGG.
You can record your voice for a podcast, a YouTube video, an online training course, or a voicemail. You can also digitize cassettes or capture the sound of an instrument.
Thus, Audacity caters to nearly all needs related to free audio recording.
Download and install Audacity for free
Before recording sound with Audacity, you need to install the software.
Go to the official Audacity website. Download the version appropriate for your system. Always check that you are using the latest version, as options may evolve.
The installation is straightforward:
- Launch the downloaded file.
- Follow the on-screen instructions.
- Accept the terms and choose the installation folder.
In a few minutes, the software will be ready to use.
Prepare your equipment for quality recording
The quality of sound largely depends on your equipment. Even though Audacity is powerful, a poor microphone will yield mediocre results.
Choose the right microphone
You can use:
- A built-in microphone on your computer.
- A headset with a microphone.
- An external USB microphone.
The USB microphone remains the best choice for clear sound. It better captures the voice and reduces background noise.
Properly install your microphone
Plug in the microphone before opening Audacity. Then, check in the system settings that your computer properly detects it.
For example, on Windows, go to sound settings. On macOS, check in the audio settings.
If the microphone does not appear, restart your computer.
Reduce background noise
Set yourself up in a quiet room. Close the windows. Move away from fans and noisy devices.
Place the microphone about 6 to 8 inches from your mouth. Speak slightly to the side to avoid loud "p" and "b" sounds.
These simple gestures greatly improve the quality of your recording.
Configure Audacity to record sound
Once Audacity is open, you need to check some essential settings.
Select the right microphone
At the top of the window, you will see a dropdown menu with the microphone icon. Select your device.
If you have multiple options, choose the name corresponding to your USB microphone or headset.
Adjust input volume
Next to it, you will find the recording volume slider.
Speak normally and watch the sound level. The bars should not reach the maximum. If they turn red, the sound is clipping.
Lower the volume slightly to avoid distortion.
Choose the recording format
At the bottom of the window, you can set the sample rate. Generally, 44100 Hz is suitable for most uses.
If you are creating a podcast or a video, this setting is sufficient. However, if a client requires a specific format, check their instructions.
Record sound with Audacity step-by-step
Now let's move on to the audio recording.
- Click the red "Record" button.
- Speak or start the sound source.
- Click "Stop" to finish.
Your audio track will immediately appear on the screen.
If you make a mistake, do not delete everything. Simply select the part to correct and try again.
You can also add a new track by clicking on "Tracks" then "Add." This option is useful for recording a voice over music.
Record computer sound with Audacity
Do you want to record the internal sound of your PC, such as a video conference or music?
In this case, select the internal system as the input device, often called "Stereo Mix" or equivalent. However, this option depends on your sound card.
If it does not appear, you will need to enable the option in the system settings. On some recent versions, you may need to go through advanced audio settings. Check the official documentation, as these settings may change.
Always remember to verify the legality of the recording. Recording a conversation sometimes requires the consent of the participants.
Quickly edit an audio recording
After recording sound with Audacity, you can enhance the result.
Cut unnecessary silences
Select the part to delete with the mouse. Press the Delete key.
You will get a more dynamic and pleasant listening file.
Reduce background noise
Audacity offers a noise reduction tool.
- Select a short segment where only the noise is present.
- Click on "Effects" then "Noise Reduction."
- Capture the noise profile.
- Select the entire track and apply the effect.
Do not use a setting that is too strong, as the voice may sound unnatural.
Normalize volume
To harmonize the sound level, use the "Normalize" effect.
This makes your audio more consistent. Thus, your listeners will not have to constantly adjust the volume.
Export your audio recording
Once satisfied, export your file.
Click on "File" then "Export."
Here are the most common formats:
| Format | Main Use |
|---|---|
| WAV | Maximum quality, editing |
| MP3 | Online sharing, podcasts |
| OGG | Compressed alternative |
Choose MP3 for standard web use. Choose WAV if you need to rework the sound later.
Then enter the file name and the save folder.
Practical tips for more professional sound
Even with free software like Audacity, you can achieve a professional result.
- Do a test before each recording.
- Speak at a regular pace.
- Stay hydrated to avoid mouth noises.
- Regularly save your project.
Additionally, avoid applying too many effects. A natural sound remains more pleasant.
Common mistakes to avoid
Many beginners make the same mistakes.
For example, they record with a poorly selected microphone. As a result: no sound is captured.
Others speak too close to the microphone, creating saturation. Conversely, speaking too far makes the sound weak and hollow.
Some also forget to export the final file. The Audacity project (.aup3) is not enough to share your audio.
Always check your export before sending it.
Conclusion
Recording sound with free Audacity becomes simple when you follow the right steps. Download the software, choose the right microphone, adjust the levels, and start recording. Then, slightly clean the audio and export it in the right format.
With a little practice, you can achieve clear and professional sound without spending any money.
FAQ: Record sound with Audacity
Is Audacity really free?
Yes, Audacity is a free and open-source software. You can use it without paying. Just make sure to download the official version.
Why is Audacity not recording any sound?
In most cases, the wrong microphone is selected. Check the input device and system settings.
What format to choose for a podcast?
The MP3 format is perfect for podcasts. It offers a good balance between quality and file size.
Can you record multiple tracks at the same time?
Yes, you can add multiple audio tracks. This feature is useful for interviews or music.


